Caldari missile pilot — passive shield tank, fire and forget. Goal: Drake is the flagship at 70–120M ISK/hr. Train Caldari Battleship I (just 1 day) to unlock the Raven at 120–180M ISK/hr — this is the single biggest upgrade available. Omega helps, but the Raven is the real priority.
New to EVE? Read this first
ISK is EVE’s in-game currency (K = thousands, M = millions, B = billions).
Security space — shown next to every system name on the starmap:
- High-sec (0.5–1.0): Police protect you. Safe for new players. Start here.
- Low-sec (0.1–0.4): No police. Players can attack freely. Better income.
- Null-sec (0.0): Player-controlled. Most dangerous, highest rewards.
How Caldari missiles work: Unlike guns, missiles always hit — target speed and size affect damage slightly, but missiles never miss entirely. This makes Caldari ships easier to fly than turret ships for new players. No tracking to worry about. Just lock, fire, move to the next target.
Passive vs active shield tanks:
- Passive tank (Drake): The shield recharges on its own using modules that increase the recharge rate. No button pressing required — just orbit and shoot. Ideal for new players.
- Active tank (Raven): A Shield Booster actively repairs the shield when you activate it. More powerful but requires cap management and attention.
How to find mission agents: Business → Agents → Security. Filter by level. Pick an agent in Caldari space (The Forge, Lonetrek, Black Rise regions) near your base. Run missions for the same corporation consistently — each level unlocks more income.
Where to buy ships: Jita 4-4 in The Forge is the main market and the hub for Caldari space. If you’re near Jita already, you’re in the right place.
| Ship | Hull cost | ISK/hr | Best Activity |
|---|---|---|---|
| Kestrel | ~600K | 15–25M | Combat anomalies, belt ratting |
| Caracal | ~4M | 40–65M | L2–3 missions, combat sites |
| Drake | ~30M | 70–120M | L3–4 missions — best right now |
Alpha vs Omega
| State | Best Ship | Hull cost | ISK/hr | How to unlock |
|---|---|---|---|---|
| Right now (Alpha) | Drake | ~30M | 70–120M | Fly it today |
| +1 day training | Raven | ~65M | 120–180M | Train Caldari Battleship I |
| Omega | Drake / Raven | Same hulls | Same rates | Removes Alpha skill caps, minor improvement |
| Omega + training | Hawk | ~30M | 30–60M | Caldari Frigate V + Assault Frigates I |
Screams’ biggest upgrade is not Omega — it’s training Caldari Battleship I (1 day). Do that first.
Kestrel
| **ISK/hr: 15–25M | Hull: ~600K | Total fit: ~15M** |
The learning ship. Four missile launchers that hit regardless of target speed. Nearly free — learn the basics here before moving to the Caracal and Drake.
Where to go: High-sec combat anomalies (Alt+P → Combat tab — these are pre-loaded NPC combat encounters that appear automatically) or asteroid belts (solar system map → right-click any belt → Warp To). Stay in 0.5+ security systems while learning. Move between anomalies to maximise income.
Why fly this first: Missiles never miss. This is the easiest combat style in EVE for new players. Learn range management and tanking here risk-free.
[Kestrel, Light Missile Kiter]
Light Missile Launcher II x4

5MN Quad LiF Restrained Microwarpdrive
Warp Scrambler II
Medium Shield Extender II

Ballistic Control System II x2
Damage Control II

Small Core Defense Field Extender I x2
Small Anti-EM Screen Reinforcer I

Ammo: Scourge Light Missile (default) / Mjolnir (vs Gallente / Minmatar NPCs)
| Module | Qty | ~Price |
|---|---|---|
| Light Missile Launcher II | ×4 | 300K ea — 1.2M |
| 5MN Quad LiF Restrained Microwarpdrive | ×1 | 800K |
| Warp Scrambler II | ×1 | 1.5M |
| Medium Shield Extender II | ×1 | 1.5M |
| Ballistic Control System II | ×2 | 3M ea — 6M |
| Damage Control II | ×1 | 2.5M |
| Rigs ×3 | ~100K ea — 300K | |
| Hull (Kestrel) | 600K | |
| Total | ~15M ISK |
✅ LD can make: Kestrel hull (BPO ~1.5M NPC), all three rigs.
Module guide (first ship — read once):
- MWD (Microwarpdrive): Massively boosts speed. Turns off if you get scrambled.
- Warp Scrambler: Stops target warping, kills their MWD.
- Ballistic Control System: Increases missile damage and launch rate. Core damage module.
- Ammo types: Scourge = kinetic damage (default). Mjolnir = EM damage. Check which NPC faction you’re fighting and match the ammo to their weakness (see Damage Type Guide below).
PvE: Warp in at 30 km. Orbit at 20,000 m. All four launchers on one target at a time. Missiles hit everything regardless of speed.
PvP: Scramble at 9 km. Orbit 15,000 m with MWD running. If something fast closes inside 5 km, warp out immediately — no tank for brawling.
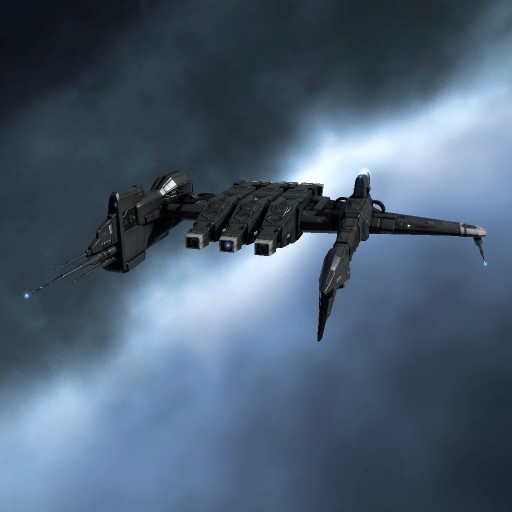
Caracal
| **ISK/hr: 40–65M | Hull: ~4M | Total fit: ~32M** |
Five heavy missile launchers with 70+ km reach. No capacitor to manage — fire continuously without ever stopping. Strong step up from the Kestrel.
Where to go: Level 2–3 security mission agents (Business → Agents → Security → Level 2 or 3). Caldari space (The Forge, Lonetrek) has many agents near Jita. Level 2 needs no standing. Level 3 needs ~3.0 standing — earn this by completing ~20–30 level 2 missions for the same corporation.
Why missions: Each mission completion pays guaranteed ISK regardless of NPC loot. More reliable income than belt ratting at this tier.
[Caracal, Heavy Missile Kiter]
Heavy Missile Launcher II x5

50MN Quad LiF Restrained Microwarpdrive
Warp Disruptor II
Medium Shield Extender II x2
Invulnerability Field II

Ballistic Control System II x3
Damage Control II

Medium Core Defense Field Extender I x2
Medium Anti-EM Screen Reinforcer I

Drones: Hobgoblin II x2
Ammo: Scourge Heavy Missile (default) / Caldari Navy Scourge (tough targets)
| Module | Qty | ~Price |
|---|---|---|
| Heavy Missile Launcher II | ×5 | 1M ea — 5M |
| 50MN Quad LiF Restrained Microwarpdrive | ×1 | 3M |
| Warp Disruptor II | ×1 | 1.5M |
| Medium Shield Extender II | ×2 | 1.5M ea — 3M |
| Invulnerability Field II | ×1 | 3M |
| Ballistic Control System II | ×3 | 3M ea — 9M |
| Damage Control II | ×1 | 2.5M |
| Rigs ×3 | 200K ea — 600K | |
| Hobgoblin II | ×2 | 300K ea — 600K |
| Hull (Caracal) | 4M | |
| Total | ~32M ISK |
✅ LD can make: Caracal hull (BPO ~5M NPC), all three rigs.
PvE: Warp in at 50 km. Orbit at 40,000 m. Five launchers reach 70+ km — most NPCs can’t even return fire. Drones on NPC frigates that come close.
PvP: Warp Disruptor (point) at 24 km. Orbit 25,000 m. Dual shield extenders hold through most engagements. If something fast closes to scrambler range, burn away with MWD and launch drones.
Drake
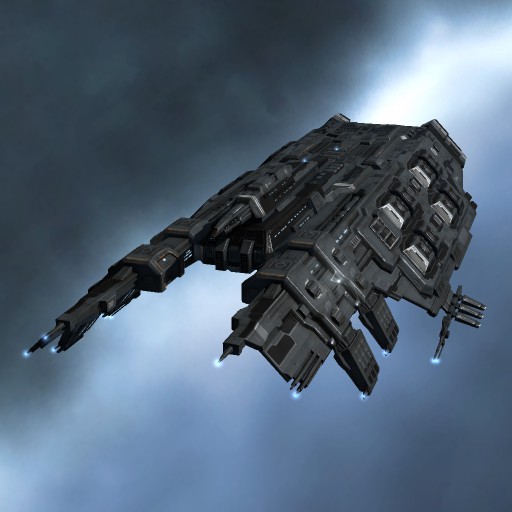
| **ISK/hr: 70–120M | Hull: ~30M** |
The best ship available right now. Passive shield tank means the shield recharges by itself — no button pressing, no cap management. Just fly in and shoot. Two fits below: PvE (recommended) and PvP.
Where to go: Level 3–4 security mission agents. The Drake is most effective in level 3 missions and handles many level 4 missions carefully. For level 4 access you need ~5.0 standing with the agent’s corporation — build this by running level 3 missions consistently. Also excellent in medium combat anomalies (Alt+P → Combat, look for “Medium” sites).
Why this is the best now: Passive tank is forgiving — even if you make mistakes in a mission the shield keeps recharging. At 70–120M/hr it comfortably funds the Raven and everything after.
PvE fit — passive tank (recommended):
[Drake, PvE Passive]
Heavy Missile Launcher II x7

Large Shield Extender II x2
Invulnerability Field II
EM Ward Field II
50MN Microwarpdrive II

Ballistic Control System II x3
Damage Control II

Medium Core Defense Field Extender I x2
Medium Anti-EM Screen Reinforcer I

Drones: Hobgoblin II x5
Ammo: Scourge Heavy Missile / Inferno (Guristas) / Mjolnir (Blood Raiders)
| Module | Qty | ~Price |
|---|---|---|
| Heavy Missile Launcher II | ×7 | 1M ea — 7M |
| Large Shield Extender II | ×2 | 3M ea — 6M |
| Invulnerability Field II | ×1 | 3M |
| EM Ward Field II | ×1 | 3M |
| 50MN Microwarpdrive II | ×1 | 5M |
| Ballistic Control System II | ×3 | 3M ea — 9M |
| Damage Control II | ×1 | 2.5M |
| Rigs ×3 | 200K ea — 600K | |
| Hobgoblin II | ×5 | 300K ea — 1.5M |
| Hull (Drake) | 30M | |
| Total | ~67M ISK |
✅ LD can make: Drake hull (BPO ~50M NPC — one-time, saves ~8M per hull at ME10), all three rigs.
Warp in at 30 km. Orbit the enemy group at 20,000 m. All 7 launchers on primary. Passive shield absorbs incoming damage with no button presses. Drones on NPC frigate tackle. EM Ward Field counters Caldari, Sansha, and Blood Raider NPCs.
PvP fit — active tank + HAMs:
[Drake, PvP Active]
Heavy Assault Missile Launcher II x7

50MN Microwarpdrive II
Large Shield Extender II
Large Shield Booster II
Warp Disruptor II
Invulnerability Field II

Ballistic Control System II x2
Damage Control II
Power Diagnostic System II

Medium Core Defense Field Extender I x2
Medium Capacitor Control Circuit I

Drones: Hobgoblin II x5
Ammo: Scourge Rage HAM (default) / Caldari Navy Scourge HAM (tough targets)
| Module | Qty | ~Price |
|---|---|---|
| Heavy Assault Missile Launcher II | ×7 | 1.5M ea — 10.5M |
| 50MN Microwarpdrive II | ×1 | 5M |
| Large Shield Extender II | ×1 | 3M |
| Large Shield Booster II | ×1 | 4M |
| Warp Disruptor II | ×1 | 1.5M |
| Invulnerability Field II | ×1 | 3M |
| Ballistic Control System II | ×2 | 3M ea — 6M |
| Damage Control II | ×1 | 2.5M |
| Power Diagnostic System II | ×1 | 1.5M |
| Rigs ×3 | 200–300K ea — 700K | |
| Hobgoblin II | ×5 | 300K ea — 1.5M |
| Hull (Drake) | 30M | |
| Total | ~69M ISK |
✅ LD can make: Drake hull (BPO ~50M NPC), all three rigs.
MWD in. Disruptor at 24 km. Orbit 10,000 m. HAMs hit harder than heavy missiles to 25 km. Pulse the shield booster when shields drop below 50%. Cap Circuit rig sustains the booster.
Damage Type Guide
| Enemy Faction | Where they appear | Best Ammo |
|---|---|---|
| Guristas (Caldari pirates) | Caldari/Venal space | Scourge (kinetic) + Inferno (thermal) |
| Blood Raiders | Amarr / Delve space | Mjolnir (EM) + Inferno (thermal) |
| Sansha’s Nation | Stain / low-sec / incursions | Mjolnir (EM) + Inferno (thermal) |
| Angel Cartel | Heimatar / Curse space | Havoc (explosive) |
| PvP — most targets | Anywhere | Scourge (kinetic) default |
In missions, your agent will always be in Caldari space — you’ll mostly fight Guristas. Use Scourge as default and switch to Inferno for Guristas specifically.
Upgrade Path
Step 1 — Train Caldari Battleship I (1 day)
This is the single best use of a day’s training time. The Raven does level 4 missions from day one.
Raven — 120–180M ISK/hr
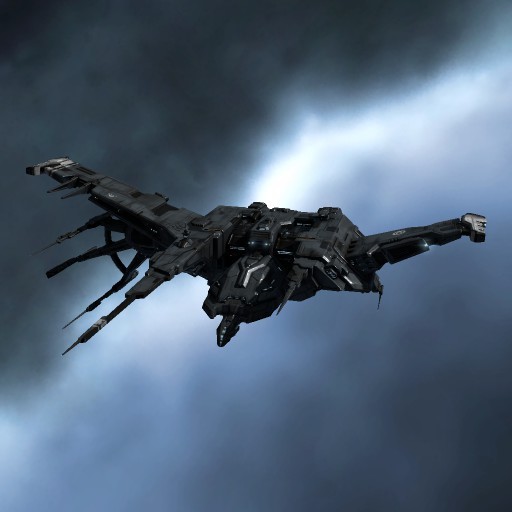
| **Hull: ~65M | Total fit: ~116M** |
Level 4 missions. Cruise missiles reach 150+ km — you clear entire rooms before NPCs can close to shooting range. The single biggest income jump available to Screams right now.
Where to go: Level 4 security mission agents — need ~5.0 standing with their corporation. If you don’t have that yet, run level 3 missions with the Drake until you do. Level 4 missions pay 20–50M per completion plus 50–200M+ in NPC bounties per room. A full session earns 120–180M/hr.
Why this is the priority over Omega: Caldari Battleship I takes 1 day. Omega costs real money monthly. This skill gives a bigger income boost than Omega alone.
[Raven, Level 4 Missions]
Cruise Missile Launcher II x6
Heavy Assault Missile Launcher II x1

100MN Quad LiF Restrained Microwarpdrive
Large Shield Booster II
Cap Recharger II x2
Invulnerability Field II
EM Ward Field II

Ballistic Control System II x3
Damage Control II

Large Core Defense Field Extender I
Large Anti-EM Screen Reinforcer I
Large Capacitor Control Circuit I

Drones: Hobgoblin II x5
Ammo: Caldari Navy Scourge Cruise / Scourge Rage HAM (close targets)
| Module | Qty | ~Price |
|---|---|---|
| Cruise Missile Launcher II | ×6 | 3M ea — 18M |
| Heavy Assault Missile Launcher II | ×1 | 1.5M |
| 100MN Quad LiF Restrained Microwarpdrive | ×1 | 5M |
| Large Shield Booster II | ×1 | 4M |
| Cap Recharger II | ×2 | 1M ea — 2M |
| Invulnerability Field II | ×1 | 3M |
| EM Ward Field II | ×1 | 3M |
| Ballistic Control System II | ×3 | 3M ea — 9M |
| Damage Control II | ×1 | 2.5M |
| Rigs ×3 | 500K ea — 1.5M | |
| Hobgoblin II | ×5 | 300K ea — 1.5M |
| Hull (Raven) | 65M | |
| Total | ~116M ISK |
✅ LD can make: Raven hull (BPO ~100M NPC — saves ~20M per hull at ME10, worth it if building multiples), all three rigs.
Orbit at 50,000 m. Cruise missiles hit everything at extreme range. Pulse the shield booster when shields drop. HAM launcher handles anything that closes inside cruise range. Cap Circuit rig sustains the booster over long fights.
Step 2 — Caldari Frigate V + Assault Frigates I
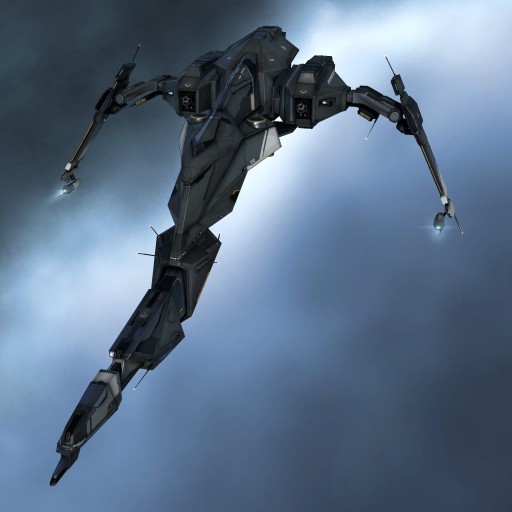
Hawk — 30–60M ISK/hr

| **Hull: ~30M (T2 Assault Frigate) | Total fit: ~49M** |
Low-sec PvP and belt ratting. Caldari Frigate is currently at IV — one level away, then Assault Frigates I unlocks the Hawk.
Where to go: Low-sec asteroid belts and solo PvP roaming (0.1–0.4 security systems). Fly through a stargate into low-sec, check belts for NPC spawns. Also hunt other players in frigates and destroyers — the Hawk can brawl most T1 frigates and destroyers. Income from PvP loot is variable; belt ratting provides steady baseline ISK.
Why bother: The Hawk is a cheap, fun solo PvP ship. Good for learning low-sec combat. The income isn’t the point — it’s building PvP skills before flying expensive ships.
[Hawk, Shield Missile Brawler]
Heavy Assault Missile Launcher II x4

5MN Quad LiF Restrained Microwarpdrive
Warp Scrambler II
Medium Shield Extender II

Ballistic Control System II x2
Damage Control II

Small Core Defense Field Extender I x2
Small Anti-EM Screen Reinforcer I

Ammo: Scourge Rage HAM / Caldari Navy Scourge HAM
| Module | Qty | ~Price |
|---|---|---|
| Heavy Assault Missile Launcher II | ×4 | 1.5M ea — 6M |
| 5MN Quad LiF Restrained Microwarpdrive | ×1 | 800K |
| Warp Scrambler II | ×1 | 1.5M |
| Medium Shield Extender II | ×1 | 1.5M |
| Ballistic Control System II | ×2 | 3M ea — 6M |
| Damage Control II | ×1 | 2.5M |
| Rigs ×3 | ~100K ea — 300K | |
| Hull (Hawk — T2) | 30M | |
| Total | ~49M ISK |
T2 hull — no BPO. ✅ LD can make: all three rigs only.
Scramble at 9 km, orbit 6,000 m. HAMs hit hard at close range. T2 assault hull gives significantly better tank than the Kestrel.